A big milestone when you start CPA Marketing is to find an effective way to host your CPA Landing page. In this tutorial, we show a fast and cheap way to do it in less than 5 minutes on Namecheap. This process might look complicated, but when you’ve done it one time, then it’s pretty easy and scalable.
1. Find a Domain name
The first thing to do when it comes to hosting your landing pages is to find a domain name attached to the hosting. The domain name will be the URL you will share with users to make money. You mainly have two options:
- Generic / Multi-niche Name: If you plan to promote all your landing pages from a different niche in the same domain. This is the cheapest option, you only need one domain for all your niche. (ex: gamehack.com works for every game)
- Niche-Specific Name: If you want to have a specific domain for each of your niches. This is a good option if you plan to promote a big niche, or you want to reduce domain ban risk on specific traffic sources. (ex: topeleven-hack.com for the Top Eleven game)
This tutorial is based on Namecheap Hosting and domains, but any company will work. I have been using this company for years (around 500 domains and 20 hosting servers) and I have never had a problem. The support is correct and everything works as expected.
You can get a domain and host for less than 25$ / year with the discount below:

You can choose a domain name (without extension) and type it in the Namecheap search bar to see all the domain extensions available. (.com – .net – .club – etc..).
For this tutorial, we chose the domain name “abigcheat” because we want to work with a multi-niche website.
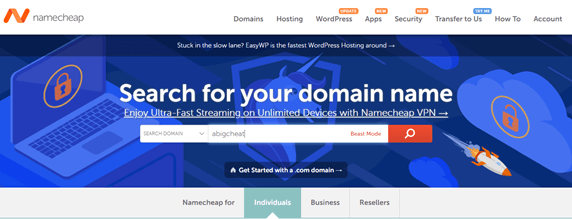
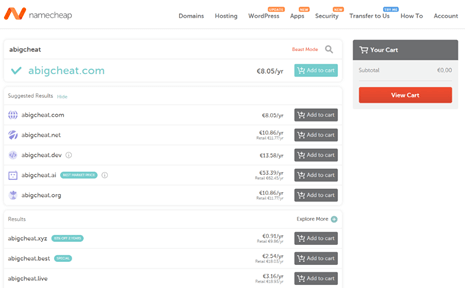
You should have a list of available extensions of the domain of your choice. If you choose a multi-niche domain name, we tend to recommend classic strong extensions such as .com or .net. If you choose a niche-specific domain, you can use a more exotic and cheaper extension such as .club or .xyz.
In this example, we choose the .com extension, so our domain will be shown as abigcheat.com.
Now you can click on “Add to cart’, and then on “View Cart’ for the next step.
2. Create a Hosting server
You add a domain to your cart, now you need a hosting server to host your CPA landing pages. You can host multiple landing pages and different domains on one unique hosting server.
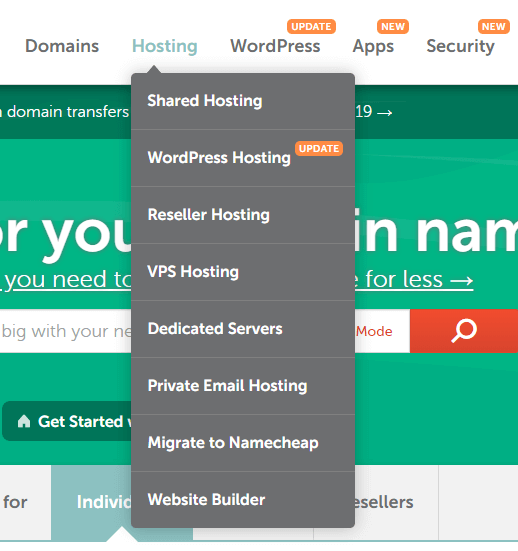
On Namecheap, you can click on “hosting” and then choose “shared hosting”. Shared Hosting is the best server to host landing pages, they are pretty cheap and very reliable.
Namecheap offers 3 different types of shared hosting:
– Stellar: 3 domains and 20GB SSD
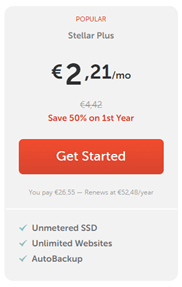
– Stellar Plus: Unlimited domains and Unlimited websites
– Stellar Business: Same as Stellar Plus with more functions.
They all come with free SSL certificates and CPanel support.
Any of the 3 hosting plans will work, but you should choose between Stellar Plus and Stellar Business. They can host unlimited domains and LP, and they still are pretty cheap.
Click on “Get started” and then attach the domain to the server.
Select “I want to use a domain in my cart” and choose the domain you previously added to your cart. (abigcheat.xyz in our example)
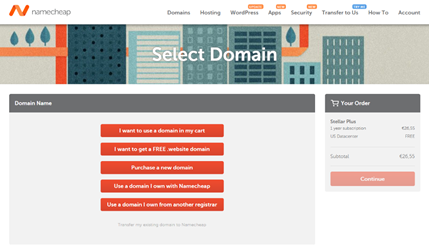
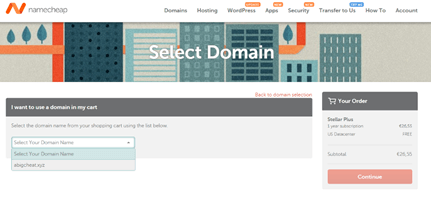
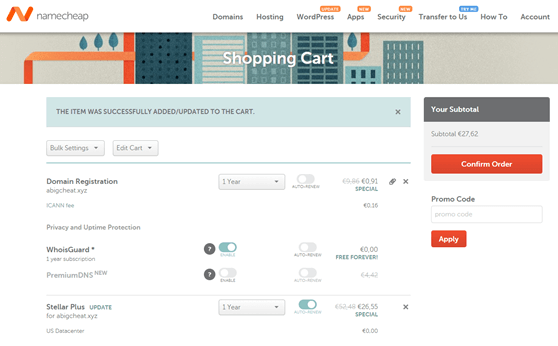
This is the final page of the hosting/domain order on Namecheap. You can select auto-renew if you want to renew your domain and server at the end of the year.
WhoisGuard is a very important function that will protect your privacy. None of your personal information can be linked with the domain, and you should always enable this function.
You can confirm the order, create an account, and select a payment option.
3. Upload your landing page on your Hosting server
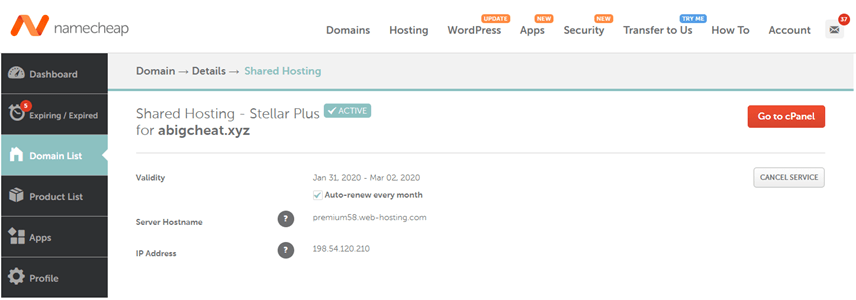
To upload your landing page on your hosting server, you have to access CPanel. When your order is confirmed, you will receive an email with the login information to connect on CPanel. You can also access it on the Namecheap Dashboard.
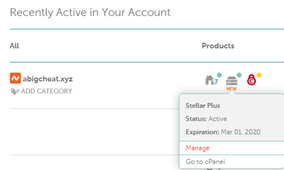
You can click on “Account”- “Dashboard” – “Stellar Plus” – Go to cPanel”.
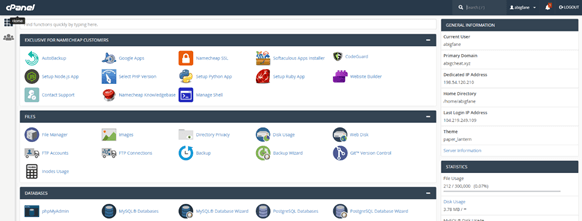
On the cPanel dashboard, you have to click on “File Manager” in the “Files” section to upload your Landing page template.

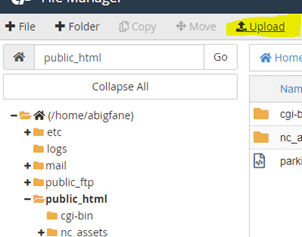
Go to “Public_html” and then everything you upload will be displayed on the domain.
“Public_html” is the root of the domain, in our example, it corresponds to “www.abigcheat.xyz”.
Note: If you create a folder in “Public_html”, for example, “test”, then everything you will upload in this folder will be displayed on the URL “www.abigcheat.xyz/test”.
You are now supposed to upload your landing page to the destination of your choice. The landing page is supposed to be a ZIP or RAR compressed file (as shown on the customization page).
Click on “Upload” and select the ZIP / RAR file of your landing page that contains everything in the template.
Don’t forget to include everything, similar to what you originally downloaded from CPA Zip.
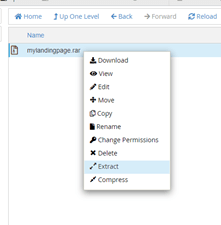
Right-click on the ZIP / RAR file you just uploaded and select “Extract”. Your landing page should appear with all the folders and the “index.html” file. If you visit the URL of your website, it should now appear similar to what you had locally on your web browser.
You have uploaded your first landing page with success!
Option: SSL Certificate to get a secure HTTPS connection
Your job is almost done and your template is theoretically ready to generate money. There’s still one step left, to increase your conversion rate and user trust, you might hear about the SSL certificates and HTTPS secure page. This is a little locker that appears on the left of your website URL on any web browser.

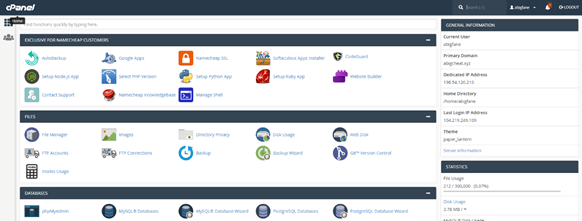
Implementing an SSL certificate is very easy if you use Namecheap hosting. You simply have to go to “Namecheap SSL” in the “Exclusive for Namecheap Customer” on your CPanel dashboard.
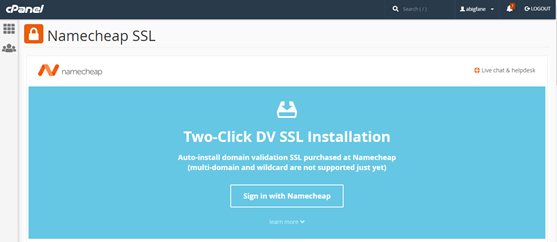
Click on “Sign in with Namecheap” to link your Namecheap account with your cPanel account.
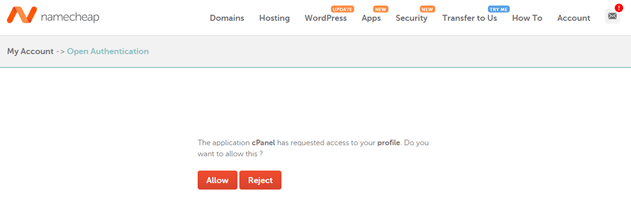
CPanel asks for a confirmation, just click on “Allow”.
Finally, you can click on “Installed via “Namecheap SSL” under your domain name.
On “Status”, you can click on activate and activate “https redirect”.

If you followed all the step listed above, you have now uploaded and hosted your landing page on your own domain. This is a really important milestone if you want to get in CPA Marketing and start making money.


Thank you mate! I always struggle to host my landing page and your tutorial really helps me!